Quickstart
Overview
Get up and running with Floyo in minutes. This guide walks you through creating an account, choosing a plan, and launching your first workflow.
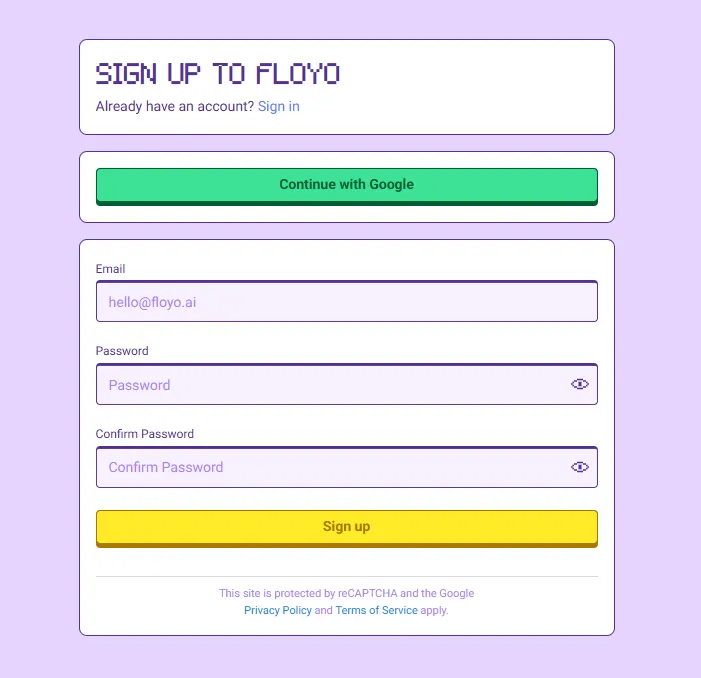
Create Your Account
- Go to floyo.ai
- Click SIGN UP in the top-right corner
- Choose your signup method:
- Continue with Google — One-click signup using your Google account
- Email & Password — Enter your email, create a password, and confirm it
- Click Sign up (or complete Google authentication)
Set Your Username
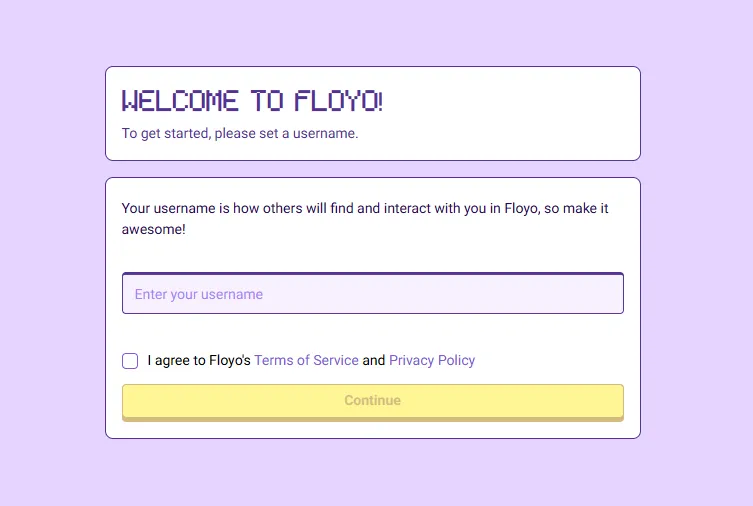
After signing up, you'll be prompted to create your username:
- Enter your desired username
- Check the box to agree to Floyo's Terms of Service and Privacy Policy
- Click Continue
Choose Your Plan
Floyo offers several plans to match your needs. All plans include unlimited workflow editing and access to powerful GPUs.
What is FloTime & Partner Nodes Credits?
FloTime is GPU compute time for running workflows. Partner Nodes credits allow you to run closed source models via Floyo API nodes (see Floyo Partner Nodes)). The Free Trial plan comes with a one-time load of FloTime and Partner Nodes credits. All paid plans come with monthly FloTime and Partner Nodes credits and have the option to buy additional Flex credits as needed.
Check out Floyo Pricing to upgrade your plan.
Explore the Workflows Page
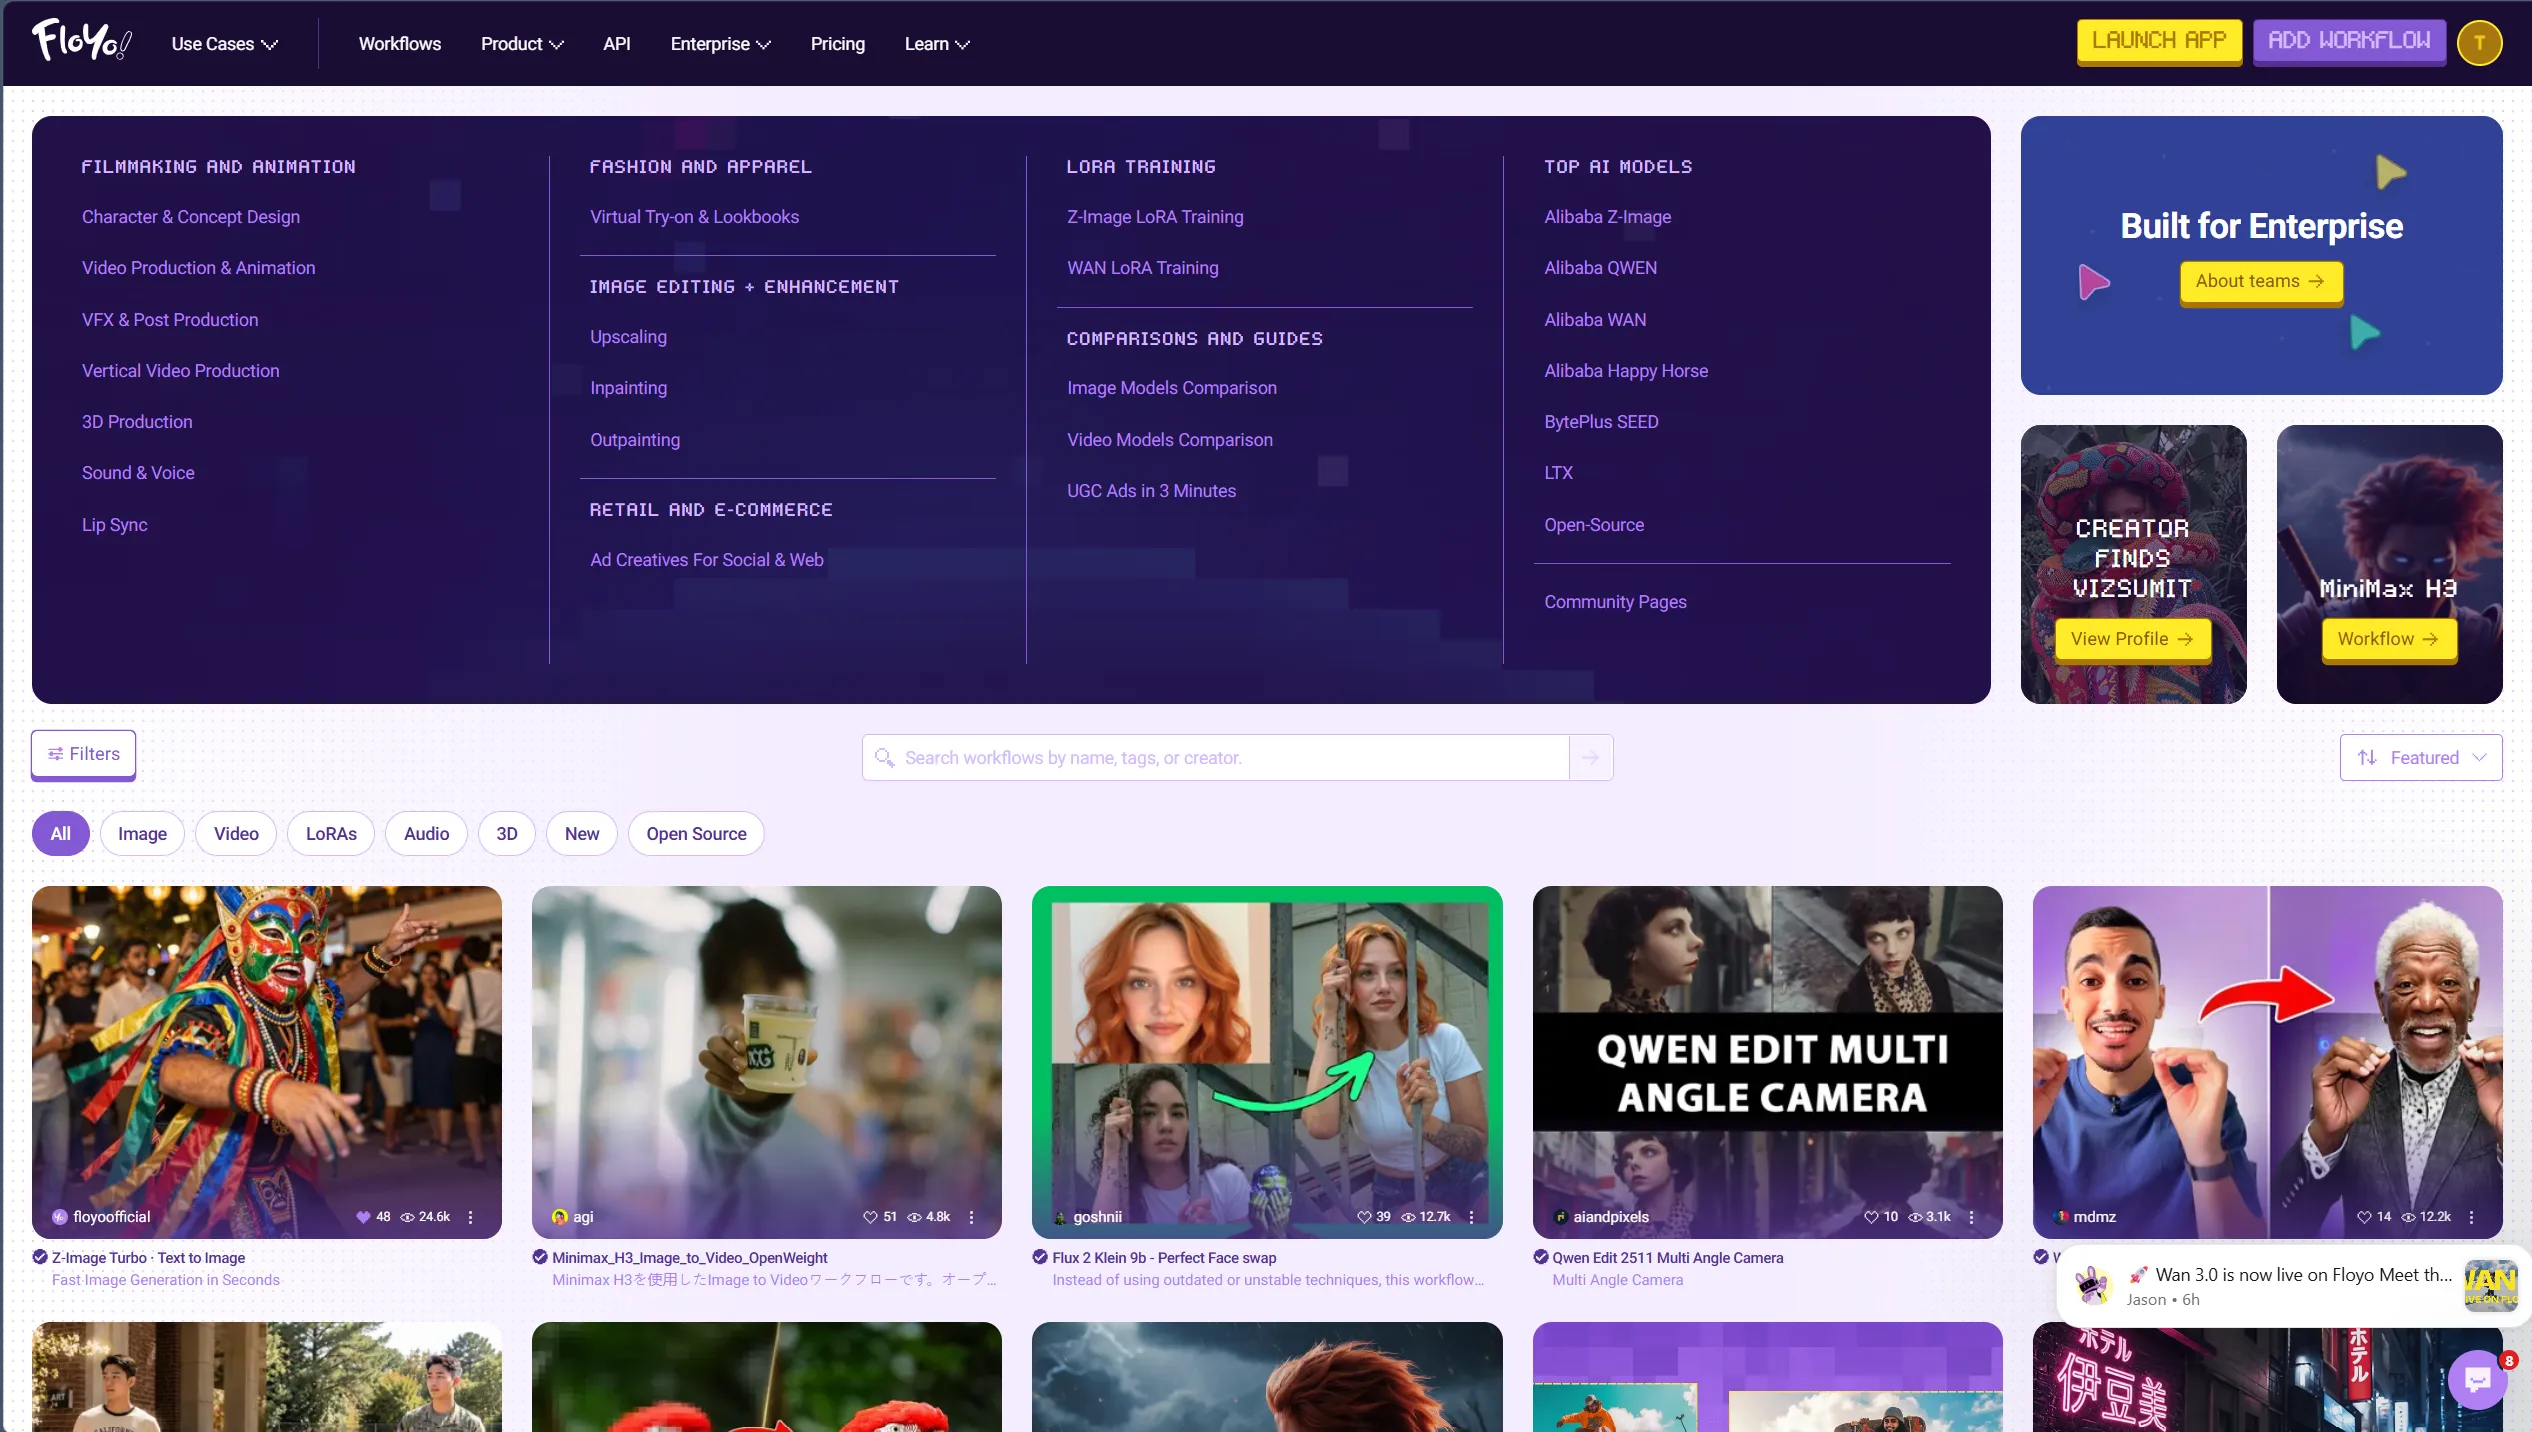
After the welcome tour, check out available workflows on the Workflows page.
The Workflows page shows community workflows you can browse, filter, and run:
- Use Filters to narrow by category or type
- Search workflows by name, tags, or creator
- Sort by Most Views or other criteria
- Click any workflow card to view details and run it
Launch the App Canvas
To start working with workflows:
- Click LAUNCH APP in the header (yellow button)
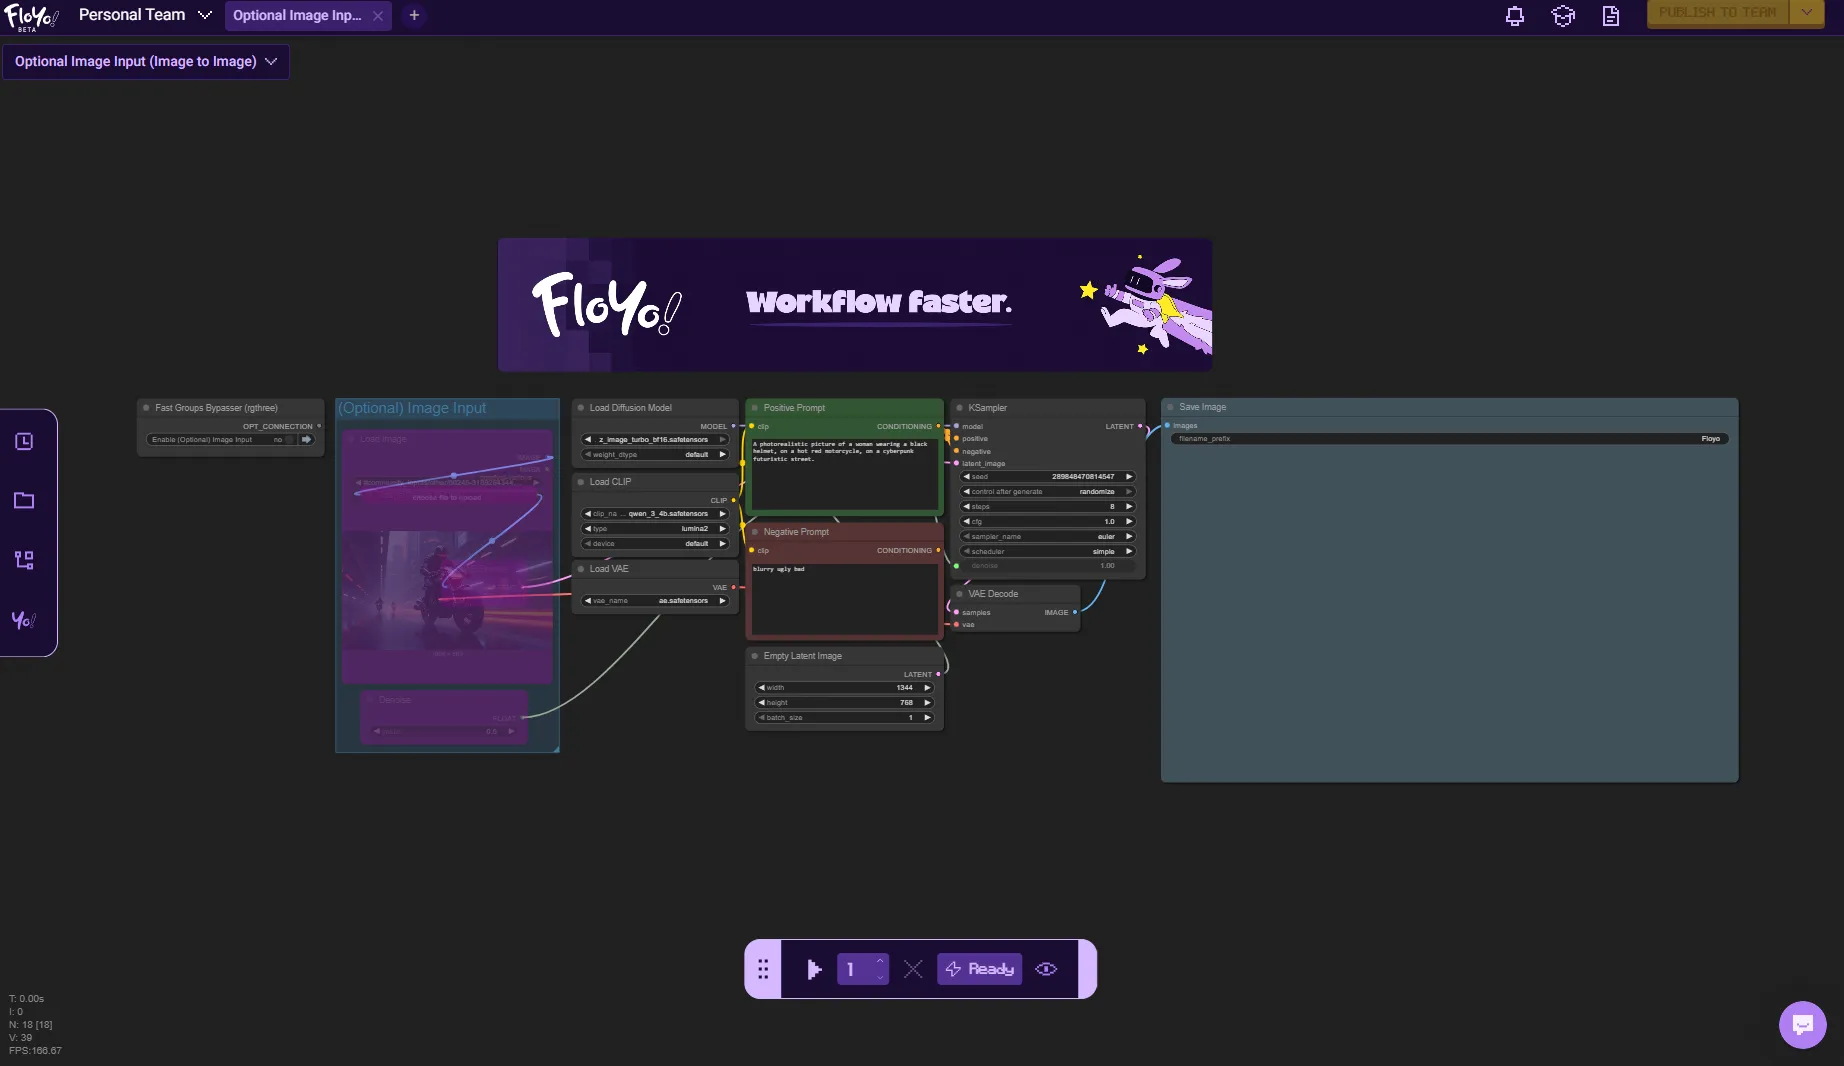
- Floyo opens the workflow canvas with a starter workflow
Run Your First Workflow
The starter workflow "Z-Image Turbo - Text to Image w/ Optional Image Input (Image to Image)" is pre-loaded when you first launch the canvas.
- Find the Positive Prompt node — edit the text to describe what you want to generate
- Click the Play button (▶) in the bottom toolbar
- Watch the status change from "Ready" to running
- View your generated output when complete
Learn More About the Canvas
For detailed guides on using the Floyo canvas interface:
- Canvas Overview — Interface layout and navigation
- File Browser — Managing your files, uploads, and storage
- Run History & Queue — Tracking workflow runs
- Working with Nodes — Adding and connecting nodes
Finding More Workflows
- Go to the Discover page (click the Floyo logo or use the sidebar)
- Browse community workflows
- Click a workflow card to view details
- Click Open Workflow to open it in your canvas
Next Steps
Now that you're set up, explore these resources:
- ComfyUI Basics — Learn the fundamentals of node-based workflows
- Floyo Partner Nodes — Use AI APIs from providers like Stability, Kling, and more
- Uploading Models — Add your own custom LoRAs and models
- Creating Workflows — Build and publish your own workflows
Troubleshooting
Can't sign up with Google?
Solution: Try using the email/password option instead. Ensure your browser allows popups from floyo.ai.
"Ready" status but workflow won't run?
Solution: Ensure you have available FloTime. Check your FloTime balance in your account settings.
Need more help?
Solution: Visit the FAQ or reach out to the Floyo team via Discord.
Related Documentation
- FAQ