Community Pages
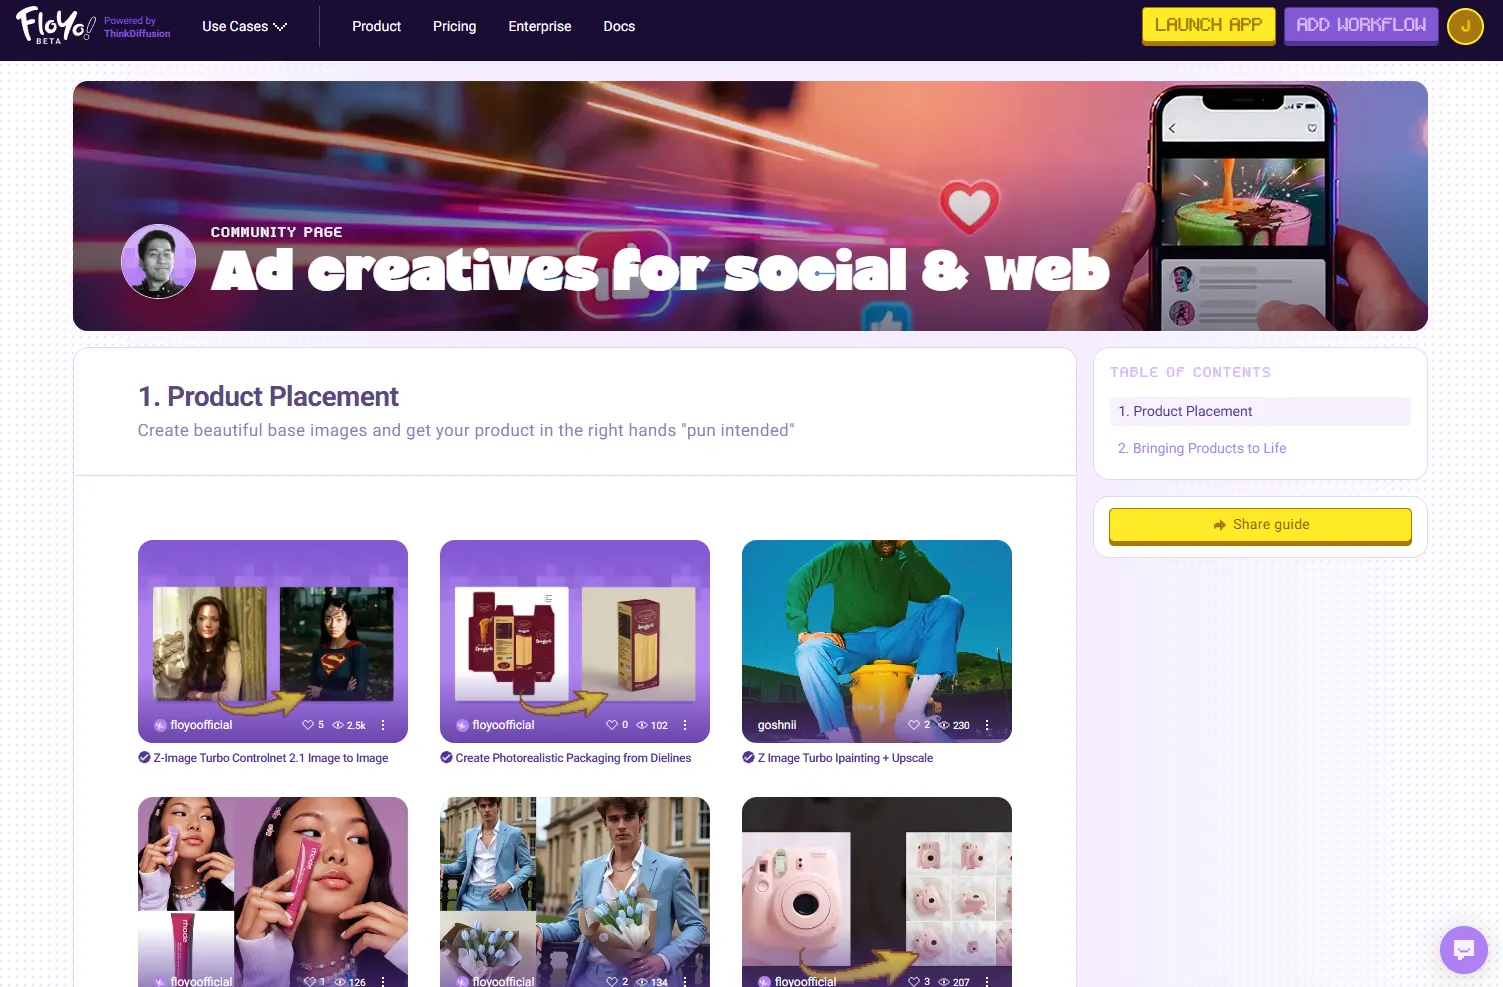
Overview
Create custom landing pages to showcase and organize workflows around specific themes, use cases, or collections. Community Pages let you curate workflows for your audience in a visually engaging format.
Accessing Community Pages
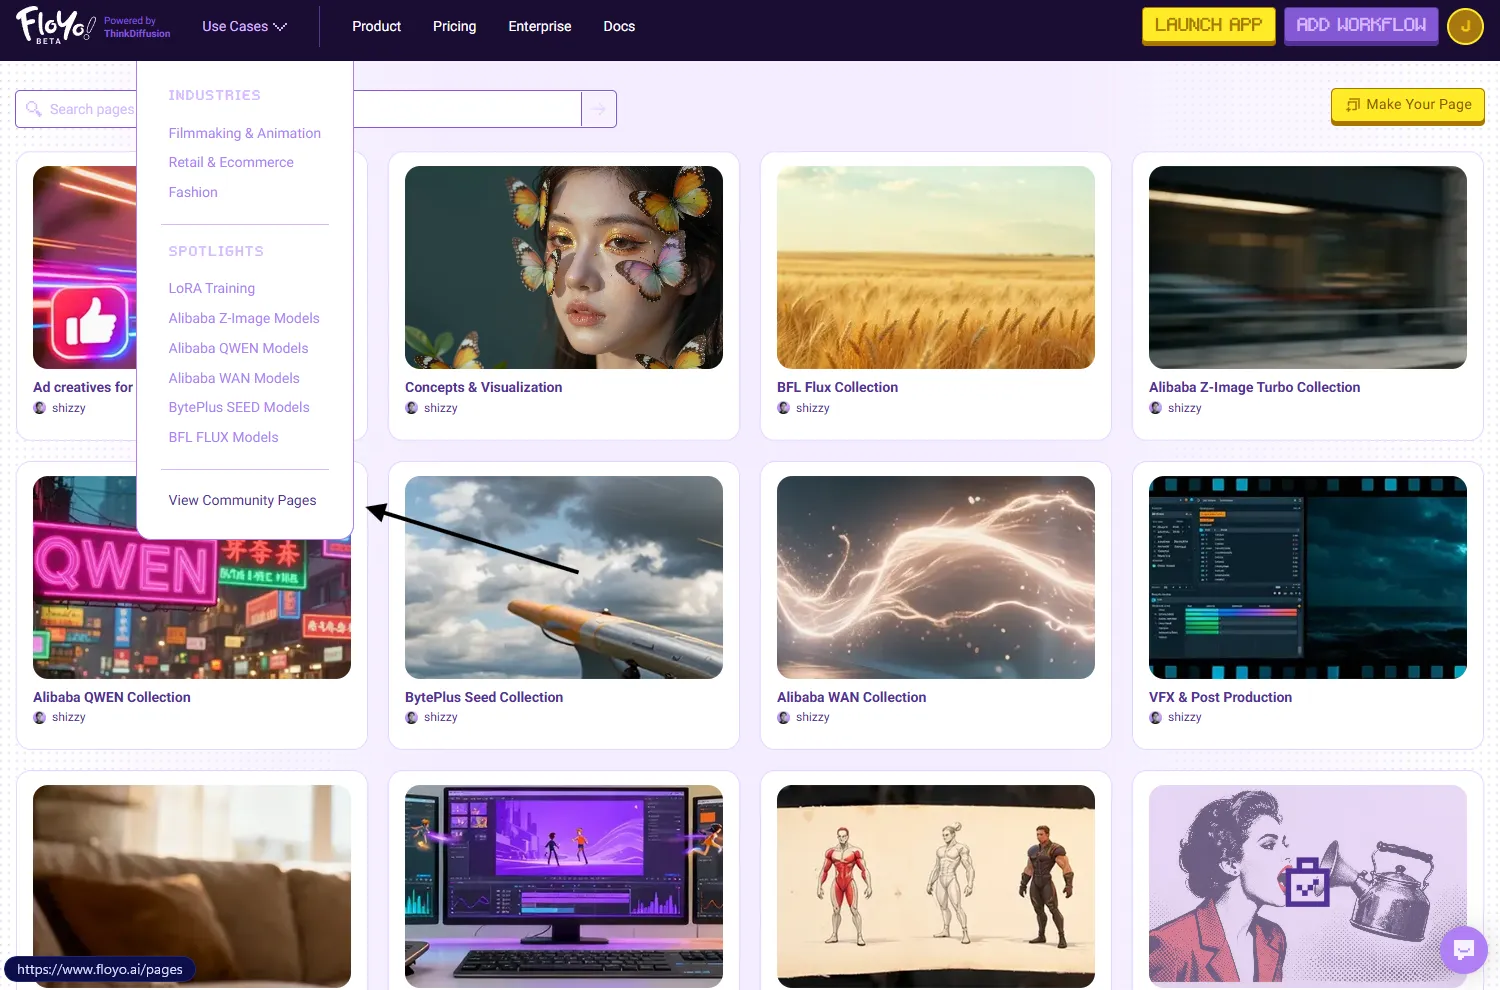
Browsing Existing Pages
- Click Use Cases in the top navigation bar
- Select View Community Pages at the bottom of the dropdown
- Browse or search pages by title, tags, or creator
Creating a New Page
- Navigate to the Community Pages directory (Use Cases → View Community Pages)
- Click Make Your Page in the top-right corner
- The page editor opens with a blank template
Page Editor Overview
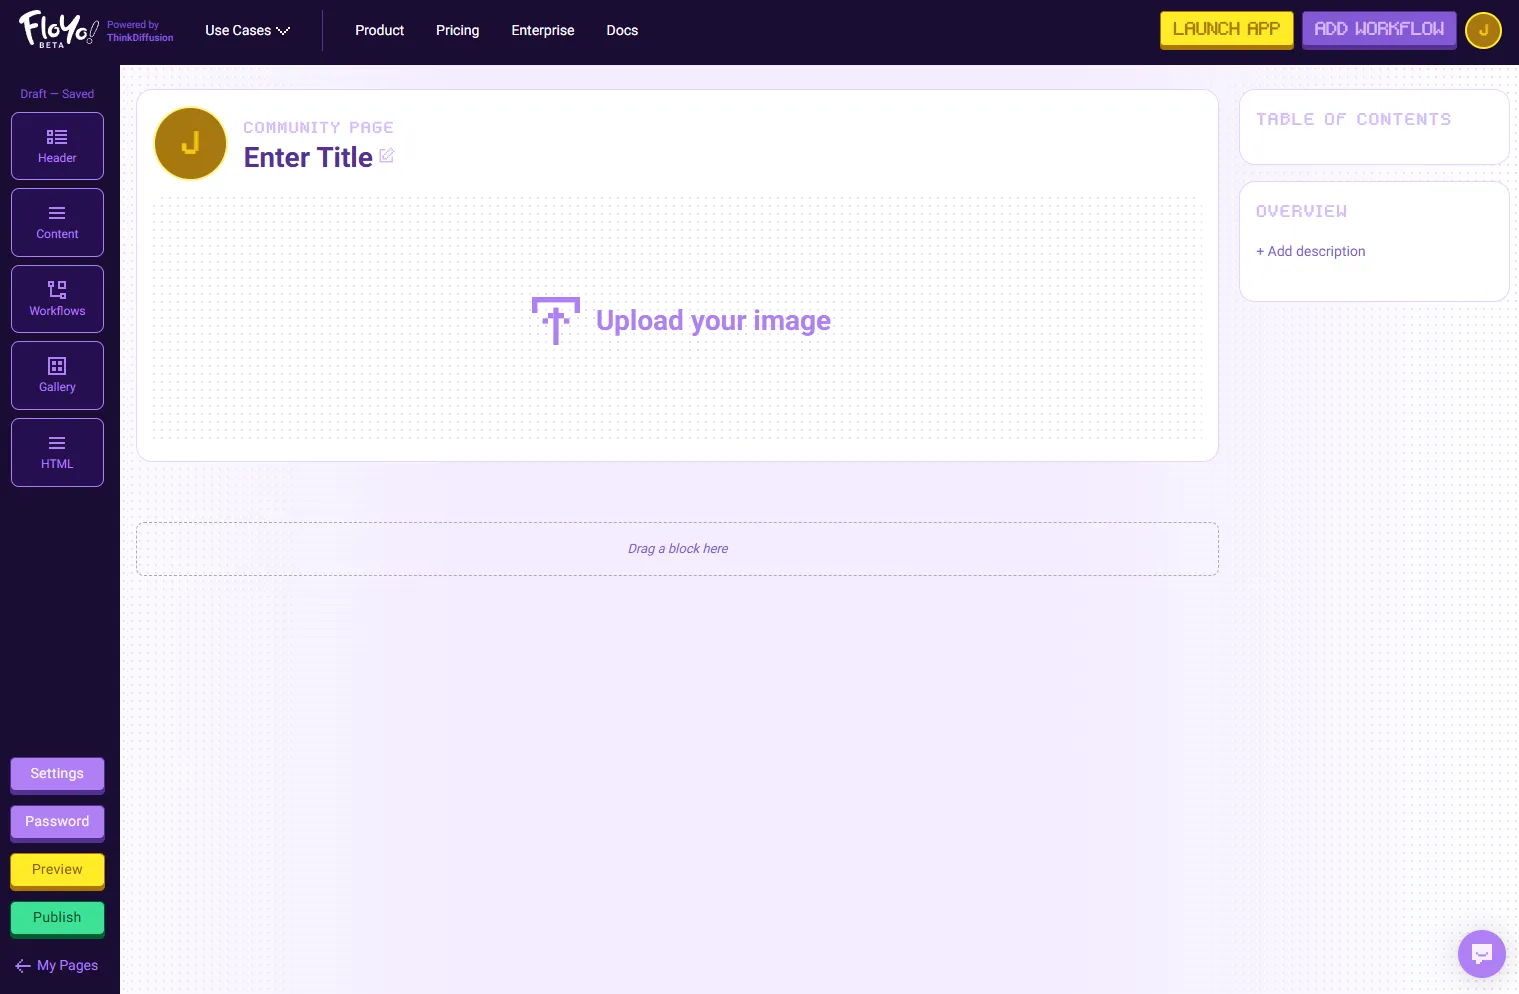
The editor uses a drag-and-drop block system to build your page.
Editor Layout
Area | Description |
|---|---|
Left Sidebar | Block types you can add to your page |
Main Canvas | Your page content — drag blocks here |
Right Sidebar | Table of Contents (auto-generated) and Overview section |
Bottom Left | Settings, Password, Preview, and Publish buttons |
Available Blocks
Block | Description |
|---|---|
Header | Add section headers to organize your page |
Content | Rich text content for descriptions and explanations |
Workflows | Embed workflow cards that visitors can run directly |
Gallery | Display image galleries showcasing workflow outputs |
HTML | Add custom HTML for advanced formatting |
Creating Your Page
Step 1: Set Up Your Header
- Click on Enter Title to add your page title
- Click Upload your image to add a hero image
- In the right sidebar, click + Add description under Overview to describe your page
Step 2: Add Content Blocks
- Drag blocks from the left sidebar to the Drag a block here area
- Arrange blocks in the order you want them to appear
- Click on any block to edit its content
Step 3: Add Workflows
- Drag the Workflows block to your page
- Search and select workflows to feature
- Workflows display as interactive cards visitors can run
Step 4: Configure Settings
Click Settings in the bottom-left corner to configure:
- Industry Tags
- Use Case Tags
Step 5: Preview and Publish
- Click Preview to see how your page looks to visitors
- When ready, click Publish to make your page public
- Your page appears in the Community Pages directory
Password Protection
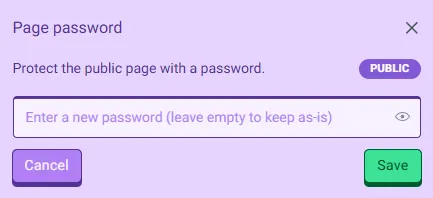
You can restrict access to your page with a password:
- Click Password in the bottom-left corner
- Enable password protection
- Set your password
- Share the password with your intended audience
Tips & Best Practices
- Use descriptive titles: Help users find your page through search
- Add a compelling hero image: First impressions matter
- Organize with headers: Break up content into scannable sections
- Curate thoughtfully: Quality over quantity — feature your best workflows
- Write clear descriptions: Explain what visitors will find and why it's useful
Troubleshooting
My page isn't appearing in the directory?
Solution: Ensure you've clicked Publish. Draft pages are only visible to you until published.
Can I edit a published page?
Solution: Yes, navigate to your page and click edit. Changes save automatically, but major updates may require re-publishing.
How do I delete a page?
Solution: Access page settings and look for the delete option.