Authoring Your Workflows
Overview
There are three ways to author new workflows on Floyo: start from scratch in the canvas, modify an existing workflow, or upload directly to the community page.
Method 1: Start from the Floyo App Canvas
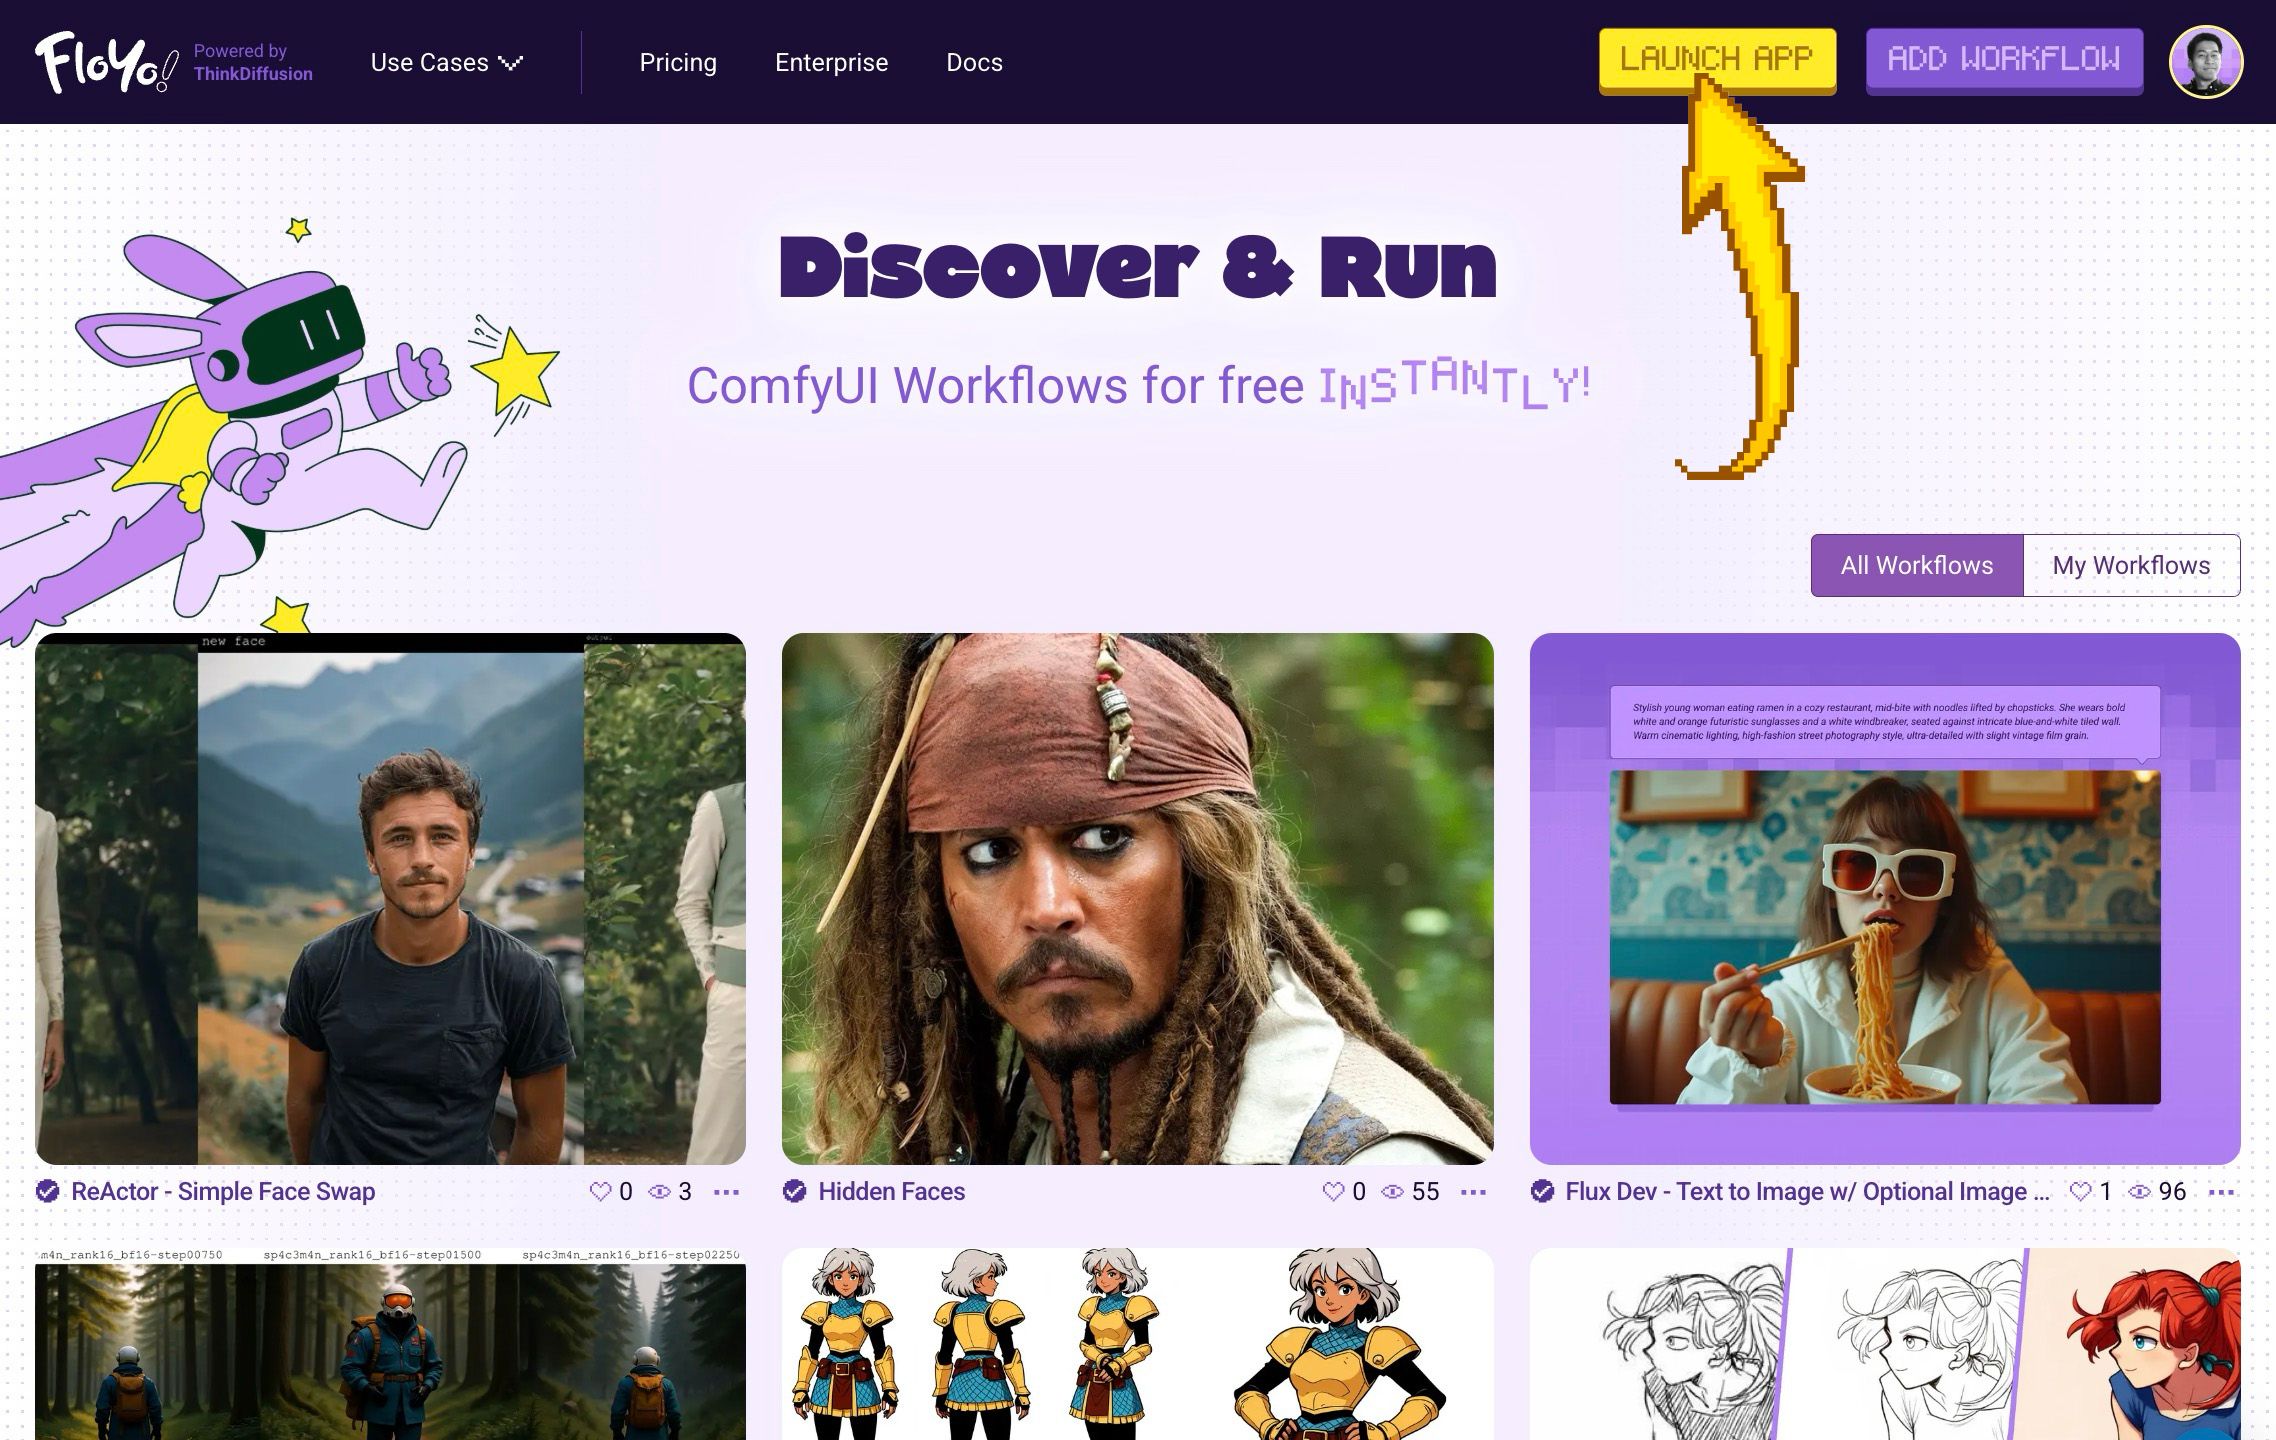
Build a workflow from scratch or import your own JSON file.
Option A: Create a Blank Canvas
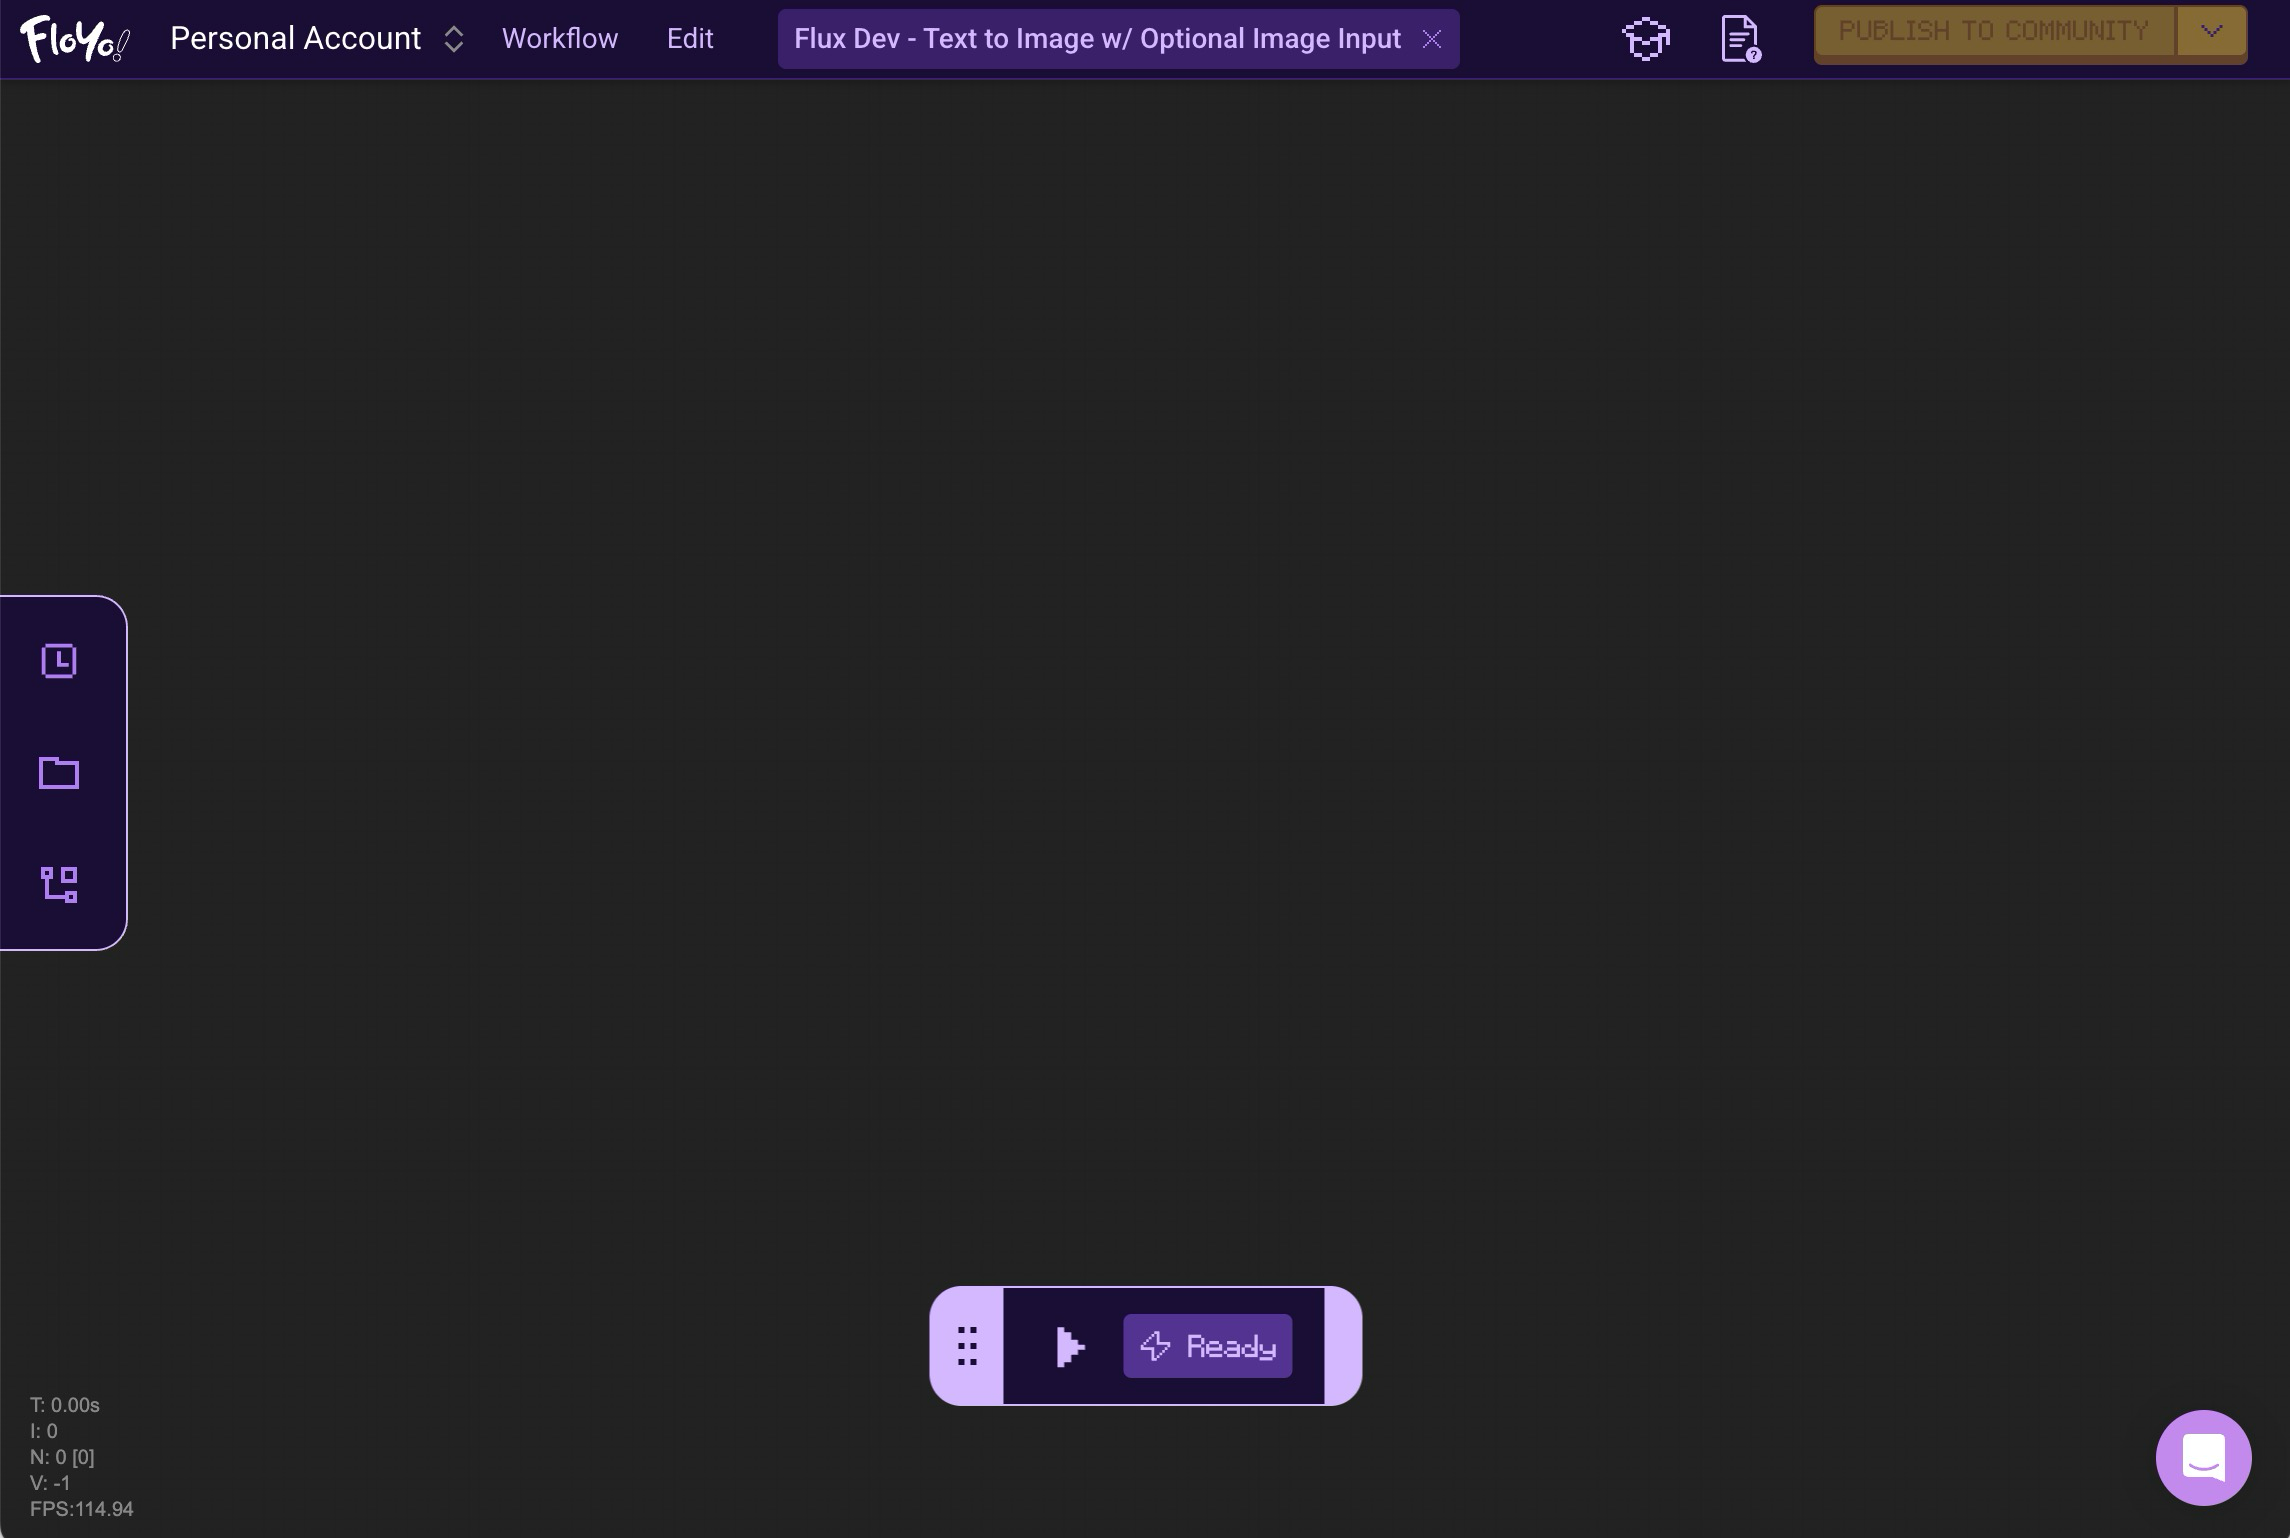
- Click Launch App to open the canvas
- Ctrl/Cmd + A to select all nodes
- Press Delete on your keyboard to get a blank page
- Start adding nodes to build your workflow
Option B: Drag and Drop a Workflow
- Click Launch App to open the canvas
- Drag and drop your workflow JSON file onto the canvas
- The workflow replaces whatever was previously loaded
After Building
- Run your workflow — Only workflows that have run successfully within the app can be published and verified ✅
- Publish — Once successful, the publish button becomes active
Method 2: Modify an Existing Workflow
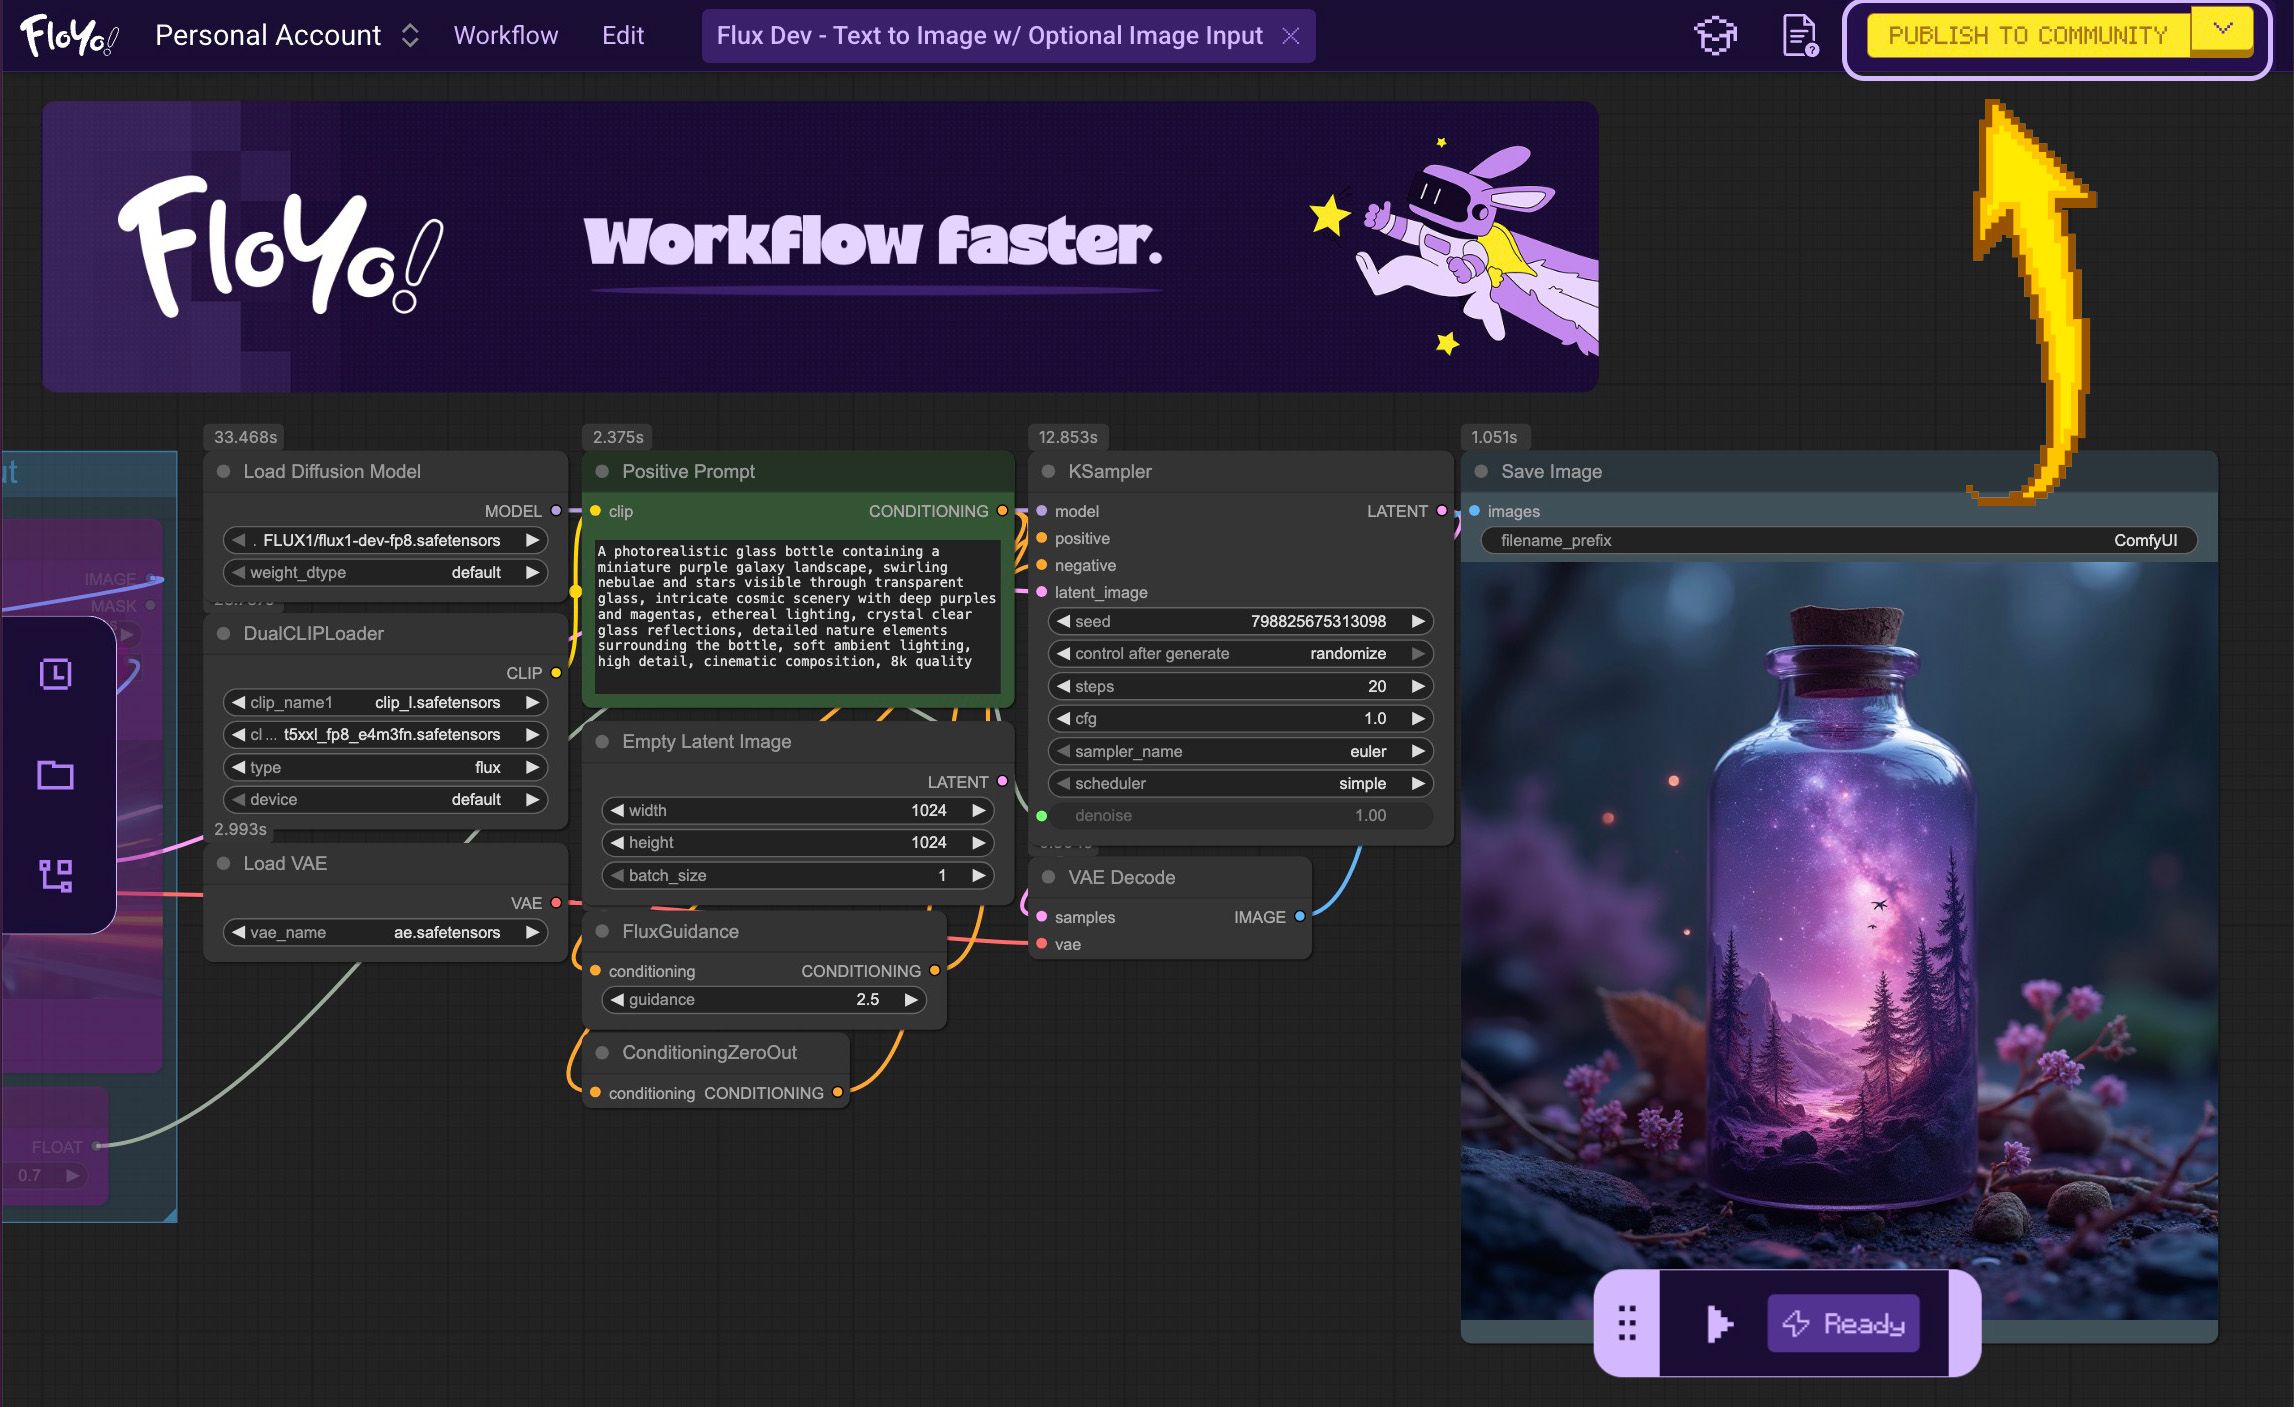
Start from a community workflow and customize it.
Steps
- Launch any Verified ✅ workflow — Verified workflows have a checkmark, and the creators have completed the process to confirm that the workflow can run successfully
- Make any customizations — Change parameters, update architecture, add nodes, add functionality, and more
- Run your workflow — Only workflows that have run successfully can be published and verified ✅
- Publish — Your modified version becomes a new workflow
Method 3: Add Your Workflow Directly to the Community Page
Upload a workflow without running it in the canvas first.
Steps
- Go to the community page
- Click the Add workflow button
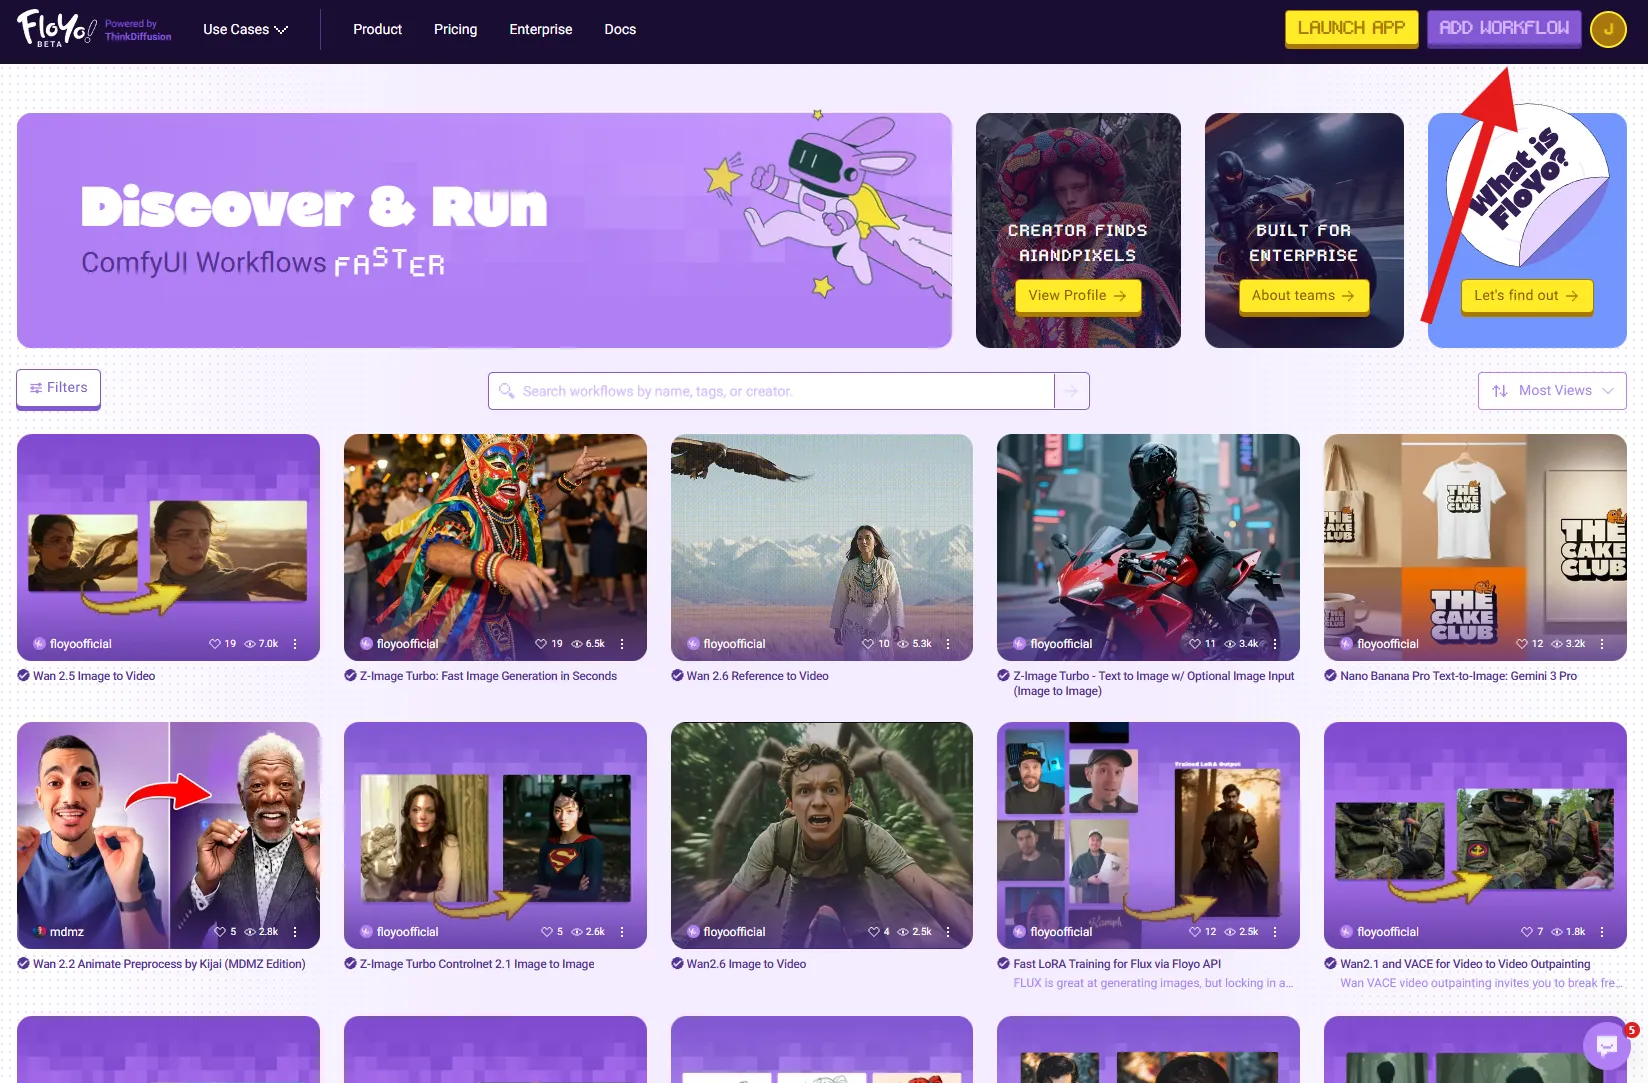
- Complete the requested info:
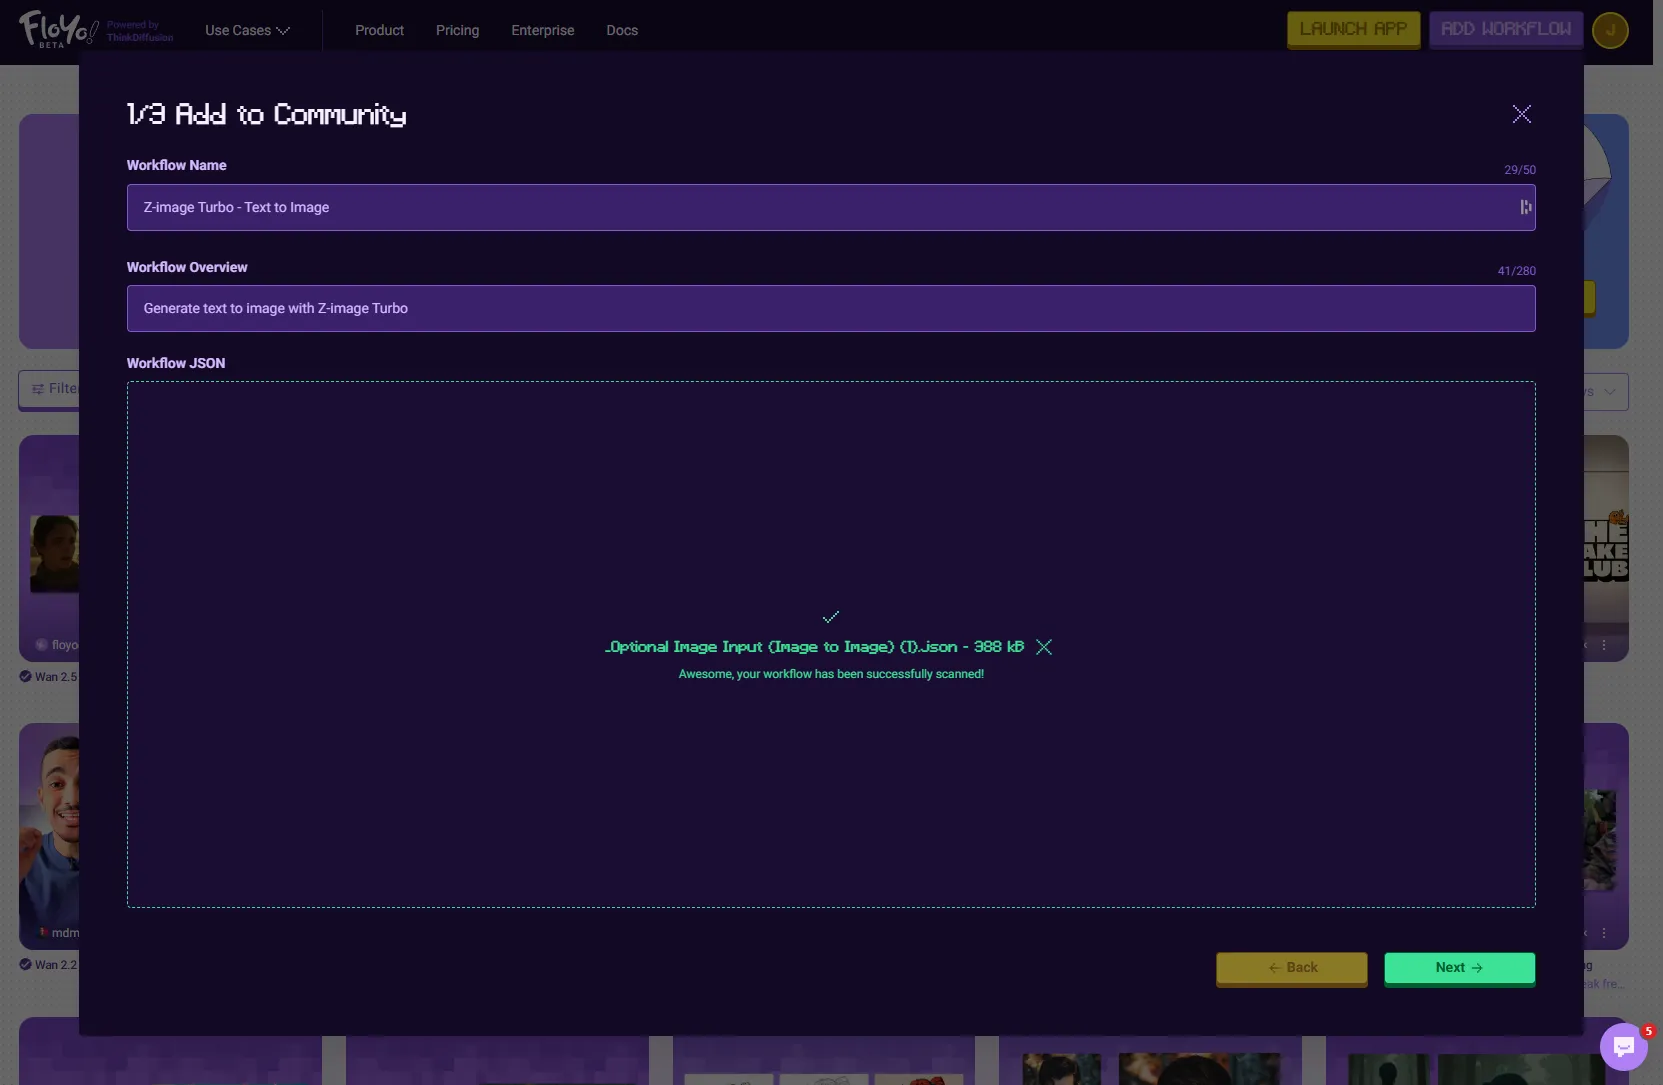
- Name your workflow, add overview
- Upload your JSON file
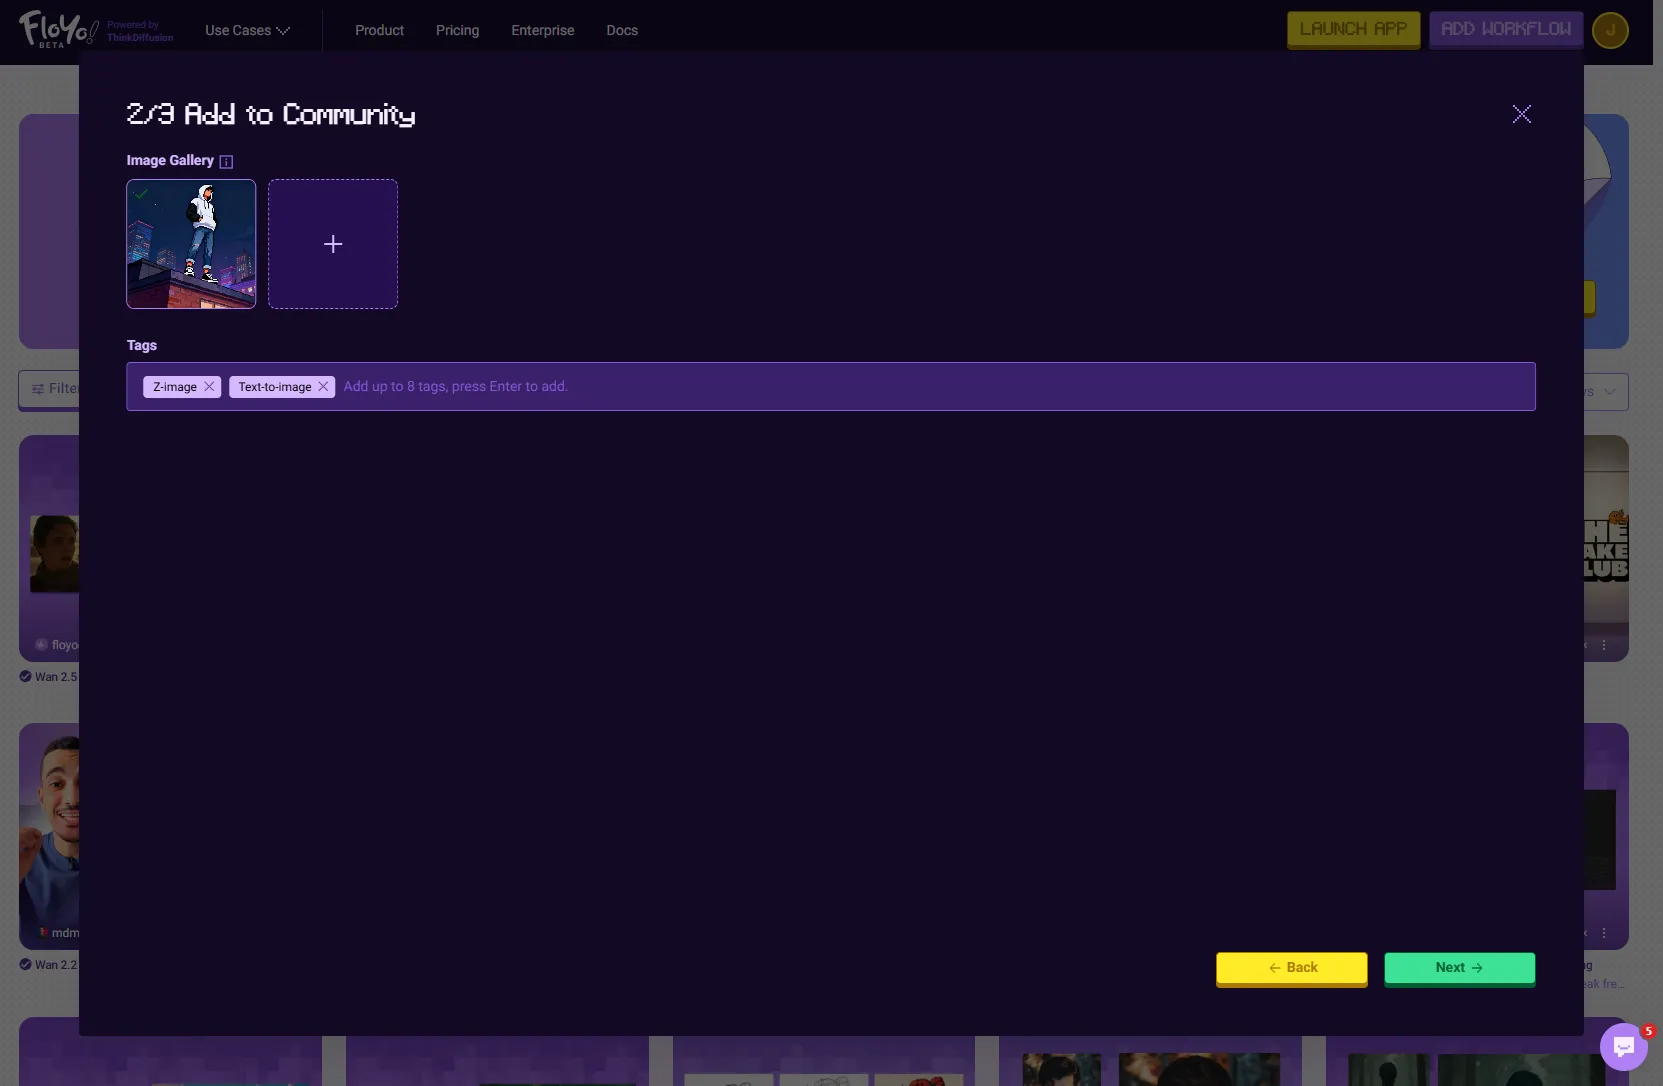
- Provide thumbnails and metadata
- Document the capabilities and functionalities
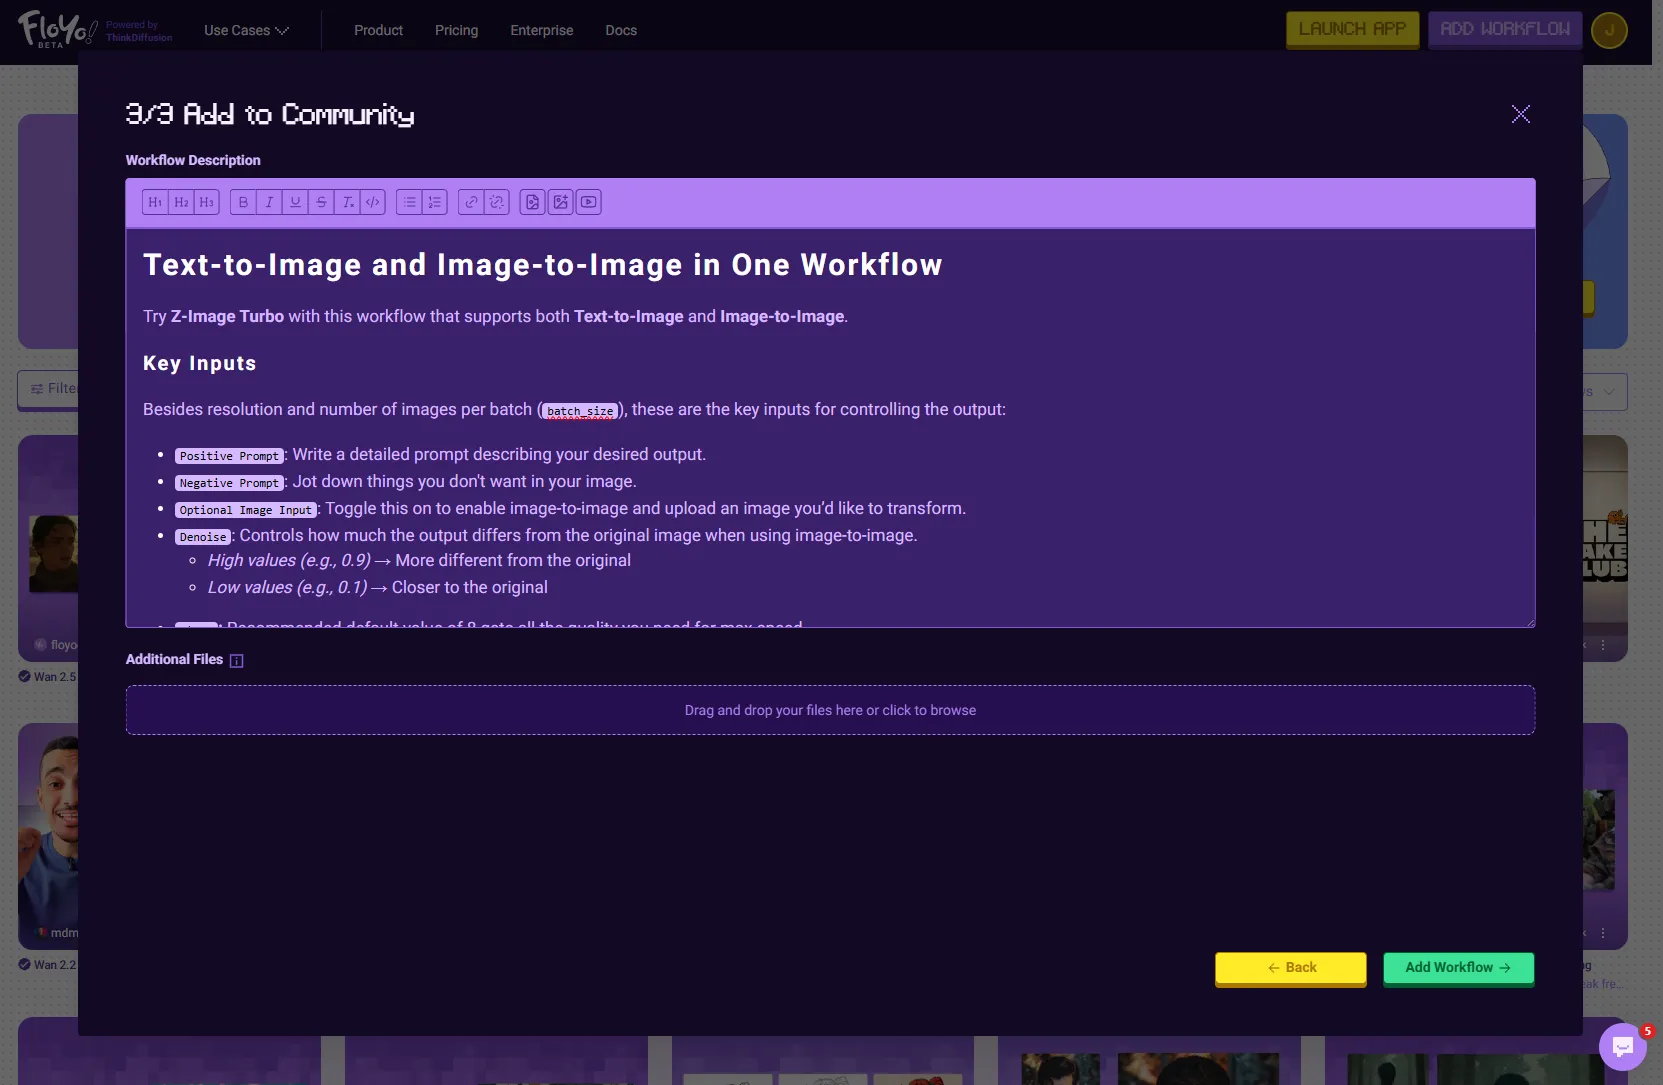
- Click Add Workflow to finish
- Click Open Workflow on your published workflow detail page
- Run your workflow to verify it — Now that the app canvas has loaded, run your workflow. Only workflows that have run successfully can be verified ✅
Comparison
Method | Best For | Verification |
|---|---|---|
Start from scratch | Building new workflows | Run first, then publish |
Modify existing | Customizing proven workflows | Run first, then publish |
Upload directly | Quick publishing of ready workflows | Publish first, then verify |
Tips & Best Practices
- Test thoroughly: Run your workflow multiple times to ensure it works consistently
- Document well: Add clear descriptions and thumbnails
- Check custom nodes: Verify all nodes are installed before publishing
- Start with verified workflows: When modifying, use verified workflows as your base
Troubleshooting
Workflow won't run after importing?
Solution: You may be missing custom nodes. Wait 24-72 hours for automatic installation, or request them directly.
Can't publish my workflow?
Solution: You must run the workflow successfully at least once before publishing.
Modified workflow not monetizable?
Solution: If your modifications are too similar to the original, it won't qualify for monetization. Make substantial changes to create a unique workflow.